Monday, December 1, 2014

Kreaxions Blog Hop

Bev Code's photo.

Beautiful decorations that glitter in the candlelight make the whole house feel like Christmas! Craft a tray of sugared fruit this year or individual pieces to decorate a wreath or the tree.
The fruit is made from an assortment of accordion folded circles using the

Each piece of fruit is made from a single circle of paper and follow these steps:

Instructions:
Step 1:Cut a 4 inch circle from cardstock.
Step 2:Score your circle into 16ths as shown in box 1 and box 2
Step 3:Cut a 1.5 inch circle out of the center.
Step 4:Bunch center of the circle together to create an accordion flower, secure to a paper circle base with adhesive. I use hot glue which looks a tad messy so I add a paper circle on top.
If you make accordion folds from circles 2.5inches or smaller you will need to cut a 1inch circle from the center.
 
Each piece of fruit is a stack of accordion folds (AF) glued to circles.

Here are the dimensions:
Apple and Orange:
1 inch Circle Top with loop of twine threaded.
3.75" AF, 1.5" Circle
4.25" AF, 1.5" Circle
4.5" AF, 1.5" Circle
4.25" AF, 1.5" Circle
3.75" AF, 1.5 inch Circle Base

Lemon and Lime:
.5 inch Circle Top with loop of twine
2.75" AF, 1" Circle
3" AF, 1.5" Circle
3.25" AF, 1.5" Circle
3" AF, 1" Circle
2.75" AF, 1 inch Circle Base

Pear:
.5 inch Circle with loop of twine
2.5" AF, 1.5" Circle
3" AF, 1.5" Circle
3.5"AF, 1.5" Circle
3.75" AF, 1.5" Circle
4" AF, 1.5" Circle
4.5" AF, 1.5" Circle
4" AF, 1.5 inch Circle Base

Grapes and Cherries:
.5 inch Circle with loop of twine
2" AF, .5" Circle
2.5" AF, .5" Circle
2.25" AF, 1 inch Circle Base

Check This Post for a list of supplies.
 
Blog Hop Order:

 
Scrap On!
 
~charity~

Saturday, November 29, 2014

Sugared Fruit

This Holiday Season I'm trying for easy to accomplish with maximum WOW built in. This tray of sugared fruit is made from an assortment of accordion folded circles.
I cut the assorted sizes of circles using the
Although each piece of fruit has a variety of accordion sizes they are each made from a single circle of paper and follow these steps:

Instructions:
Step 1:Cut a 4 inch circle from cardstock.
Step 2:Score your circle into 16ths as shown in box 1 and box 2
Step 3:Cut a 1.5 inch circle out of the center.
Step 4:Bunch center of the circle together to create an accordion flower, secure to a paper circle base with adhesive. I use hot glue which looks a tad messy so I add a paper circle on top.
If you make accordion folds from circles 2.5inches or smaller you will need to cut a 1inch circle from the center.

 
Stop by the SWAT blog to get the list of dimensions for each piece of fruit.
Supplies:
Paper:Authentique, October Afternoon, Carta Bella, Simple Stories
Twine:Twinery
Glitter:Martha Stewart
Circle Cutter:Kreaxions

Scrap On!

~charity~


Friday, November 28, 2014

Silver Lining

The ombre color schemes and textured paper of the Gradients paper pad by Craft Smith co. is a Mixed Media artist dream!!!
I slathered on 9 layers of mist, paint, paste, and ink. Then I cut a hole in the middle, rolled some Posies paper through and attached my photo. Then I added an assortment of embellishments as well as Embossing Powder, Micro Beads, and a final layer of Metallic Rub.
~ Silver Lining ~
The textured surface is still visible, the paper has minimal warping, and the layout can be held by one corner without damage or weakness.
I am thrilled to have this paper and will be using it as a base for many mixed media projects!!!
One last shot of the project's shimmer:
Supplies:
Paper, Title, and Fussy Cut flowers:Craft Smith Co.
Chipboard:Blue Fern Studios
Metallic Rub:Ink-a-Gold
Trim and Flower:May Arts Ribbon
Flower Punch:EK Success
Butterfly Punch:Marth Stewart
Mask:Kite
Modeling Paste:Liquitex
Embossing Powder:Stampendous
Word Stamps:Little Yellow Bicycle
Background Stamp:Stampin Up
Ink:CTMH
Acrylic Paint:Delta Creative
Mist:Heidi Swapp, Tattered Angels, Lindy's Stamp Gang

Scrap On!

~charity~


Wednesday, November 26, 2014

Hello Beautiful

This sunset toned paper is my first love from the
Gradients paper pad by Craft Smith Co.
I just can't get over the glowing colors and ombre shift.
They are just perfect to add happy emotions to this layout of my daughter dancing in the sunlight.
~ Hello Beautiful ~
My inspiration sketch for this piece was an album cover posted by a friend on Instagram! (IG profile: charityhotrum )
The frames and doilies are the layers of buildings. The bright tree that stands out in the middle is my sweet Lori, swinging her foot from the photo frame, and the cut outs of her dancing are the figures of people walking by the tree.
And OF COURSE there's that PINK sky!


Supplies:
Paper:Craft Smith Co
Film Strip Die:Quickkutz
Leaves and Tint:Prima, Lindy's Stamp Gang
Mask:Memory Box, Anna Griffin
Ink:Color Box
Modeling Paste:Liquitex
Glitter Paste:Bo Bunny
Title:Silhouette Portrait
Flower Punch:Martha Stewart
Doilies:Kreaxions Circle Cutter, Positioning Parts, and Punch #920
Mist:Tattered Angels
Stickles:Ranger

Scrap On!

~charity~


Monday, November 24, 2014

3 - Page Mini

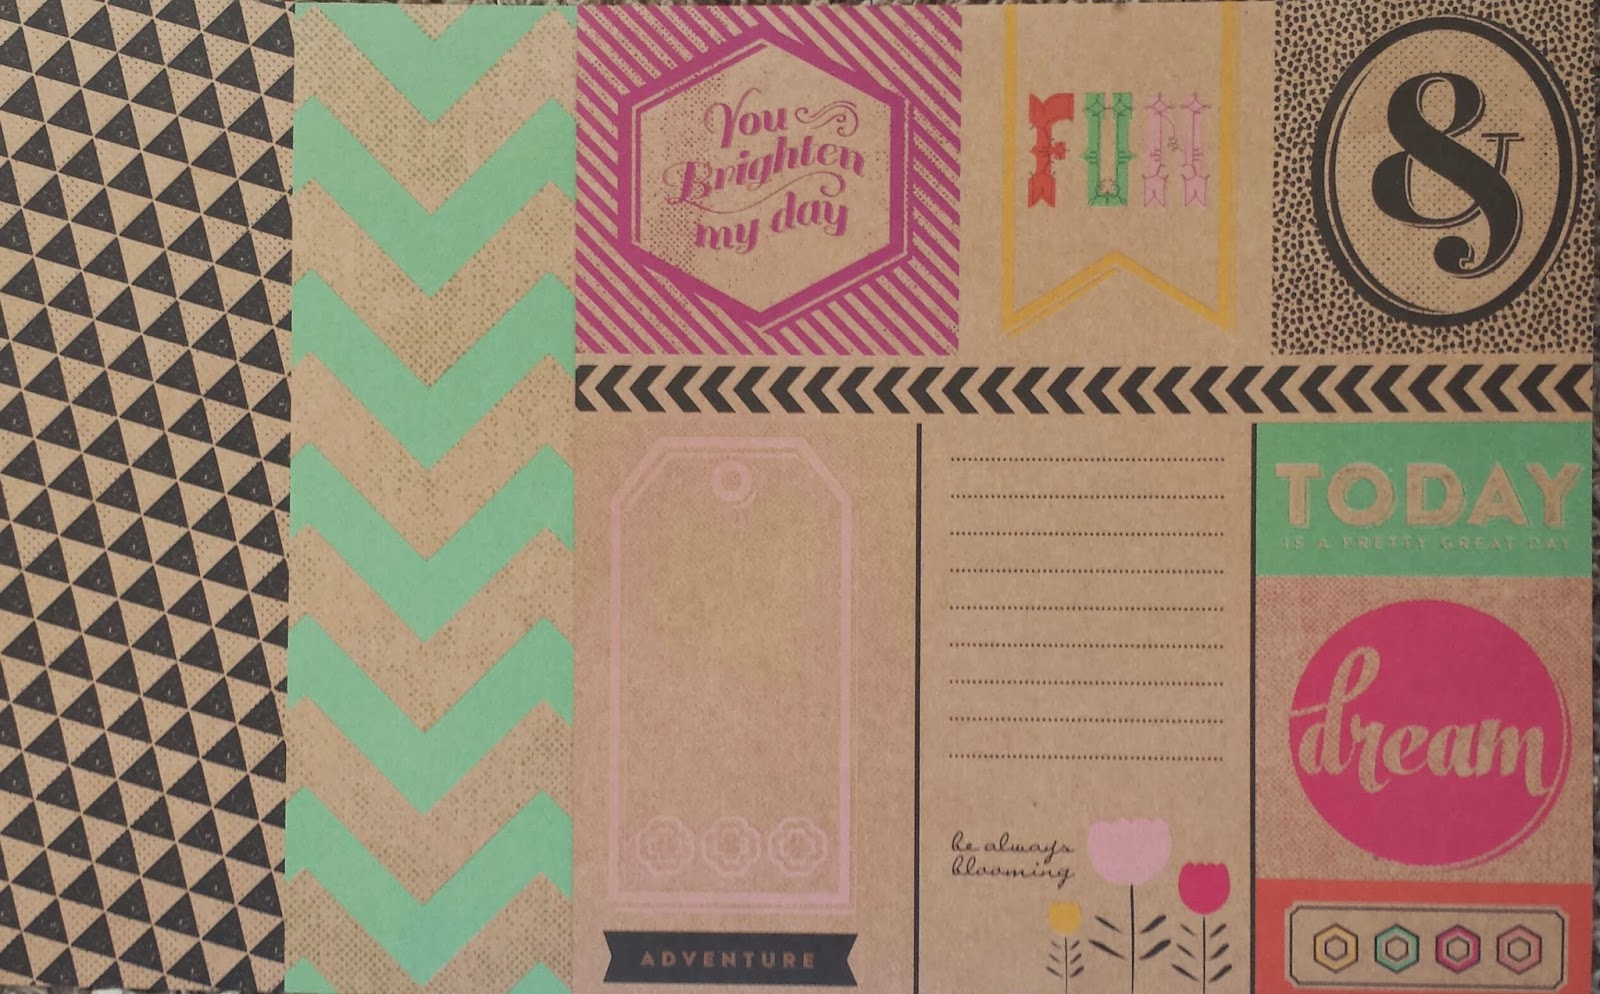
Craft Smith's ~ Type Craft ~ paper pad is full of
happy*bright*cheerful 
colors and designs!
It's just the thing for a quick mini or organizer.
Here's a great tutorial that only requires three 12x12 papers. It's all about pockets, a super functional binding,
and having FUN with paper!
Supplies
3 sheets of Paper including the Journaling Cards
Twine:2 pieces at 25 inches, 1 piece at 10 inches
Adhesive
Brads
Binding and Base
Cut three pieces from this sheet.
The base will be 4.5x6.75
Crease bottom at 1.25 and fold under. 
When folded the piece will be 4.5x5.5
Cut the "always blooming" journal card 3.5x5.5.
Adhere to front of base.
Cut two binding pieces at 5x5.
Crease every half inch.
Fold piece into a single strip.
Pierce every half inch.
Pages and Backing
Trim this sheet into 3 strips: 3.5", 4", and 4.5"
The 4.5" strip is the backing.
Crease it at 1.25, 1.5, 7, and 7.25.
Place the base on the backing, lining the folded end of the base up with the 1.5" crease. Pierce every 1/2 inch starting at the 7" crease.
The 3.5"strip will be three of the pages for the right side.
Cut it into the following lengths:
3.5x4.75
3.5x3.5
3.5x3
Use the following measurements to cut the
Journal cards for the right side:
The 4" strip will be the pages for the left side
and one for the right side.
Trim it into the following lengths:
4x3
4x3
4x1.75
4x1
3.5x1.75
Use the following measurements to cut the
Journal cards for the left side:
Adhere the Journal cards to the corresponding pages. Leave a half inch strip on the edge of the page for the binding as shown in the photo. Carefully place the adhesive around the edges of the cards to form pockets. Add brads to pressure points to reinforce the pockets. Line the pages up with the base, pierce the pages every 1/2 inch.  
 Stack the pieces in the following order:
Backing
Base
Binding
Pages, inserted between creases of the binding.
Stitch the pages to their corresponding sides
using the long pieces of twine.

The pages are designed so that they vary in height and when folded together alternately the tip of each one is visible.
Place a brad at either end of the backing, 1/2 inch from the edge.
Wrap with the small piece of twine to close.
 
 
 Slip notes to Grandma in the pockets and photos of the kids on the backs of the pages. If you just can't bear to give this cheerful mini away use it as an organizer for your shopping lists, receipts, and coupons. Either way the majority of the fun is in making the project from Craft Smiths high-quality papers and fresh designs.
 
Scrap On!
 
~charity~


Saturday, November 22, 2014

Sun Kissed

SWAT Drill #44
TURKEY
This drill is all about spelling out the word TURKEY.
I used the following items:
T: texture, U: umber cardstock, R: rub-ons,
K: "kissed", E:embossing powder, Y: yellow mist.
I wanted drips of glowing colors on my layout to represent the suns rays. I used hot glue and covered the drips with beads and mini-sequins.
~ Sun Kissed ~
The Circle Links chipboard on this layout and Ombre Dreams cardstock are by Blue Fern Studios. I proudly purchase these supplies from C'est Magnifique Kits
 
Supplies:
Paper:Blue Fern Studios, The Paper Studio
Chipboard:Blue Fern Studios
Dimensional Stickers:Momenta
Embossing Powder:WOW
Rub-Ons:7 Gypsies
Flowers:The Paper Studio
Modeling Paste, Gesso:Liquitex
Glimmer Mist:Tattered Angels, Heidi Swapp
Mask:Anna Griffin
Bronze Pin:Michaels
Journal Card:Kaiser Craft
Ink:Close To My Heart
Alphabet:Prima
Cork:The Paper Studio
Beads, Mini-Sequins:Greenbriar International
 
Sketch:
I flipped the sketch horizontally.
 
Scrap On!
 
~charity~

Friday, November 21, 2014

EPIC

Type Craft is my first paper pad from Craft Smith.
What an introduction! I'm all kinds of IN LOVE!
~ EPIC ~
I took a quick break from a Mini tutorial and threw together this card. It really shows off the design combinations of the hexagon and triangle paper. 
Supplies:
Paper: Craft Smith
Cardstock:Bazill
Title: Silhouette Cameo
Twine: Twinery
Sequins: Lawn Fawn
Pearl Paint: Ranger
Ink:CTMH
Stick Pin: Stash

Scrap On!

~charity~