Here is an easy tutorial if you need to know how to make flowers for a spectacular sunshine layout. I like to give my projects the personal touch of matching embellishments. For this one pager I was able to coordinate my flowers with my title as well as my background cardstock, all from The Robin's Nest.
~ Hello Sunshine ~
To begin this layout I chose the Moss Green Glitter cardstock and sewed a strip of the Snow Covered Trees cardstock along the side.

My photo mat started with several strips of washi tape. I topped this with layers of Wedding Cutouts cardstock and Smoky Chevron cardstock.


To begin this layout I chose the Moss Green Glitter cardstock and sewed a strip of the Snow Covered Trees cardstock along the side.

My photo mat started with several strips of washi tape. I topped this with layers of Wedding Cutouts cardstock and Smoky Chevron cardstock.

I stitched these layers down then added two ephemera cards from the Saffron Cards collection. The card tucked under the photo I cut in half to offer multiple focal points.


Now that my basic layout was ready I made the flowers. The Wedding Sticker sheet was just the right colors for my theme. I punched two sets of the same flower in a similar print and one set of smaller flower in a contrasting color. I stacked the larger flowers with the petals opposite of each other. The small flower went on top with a Blue or Yellow Dew Drop for the center.

To hold these layers of flowers together I used the Best Glue Ever. This super strong yet fantastically flexible glue from ScraPerfect is wonderful for hand made flowers.
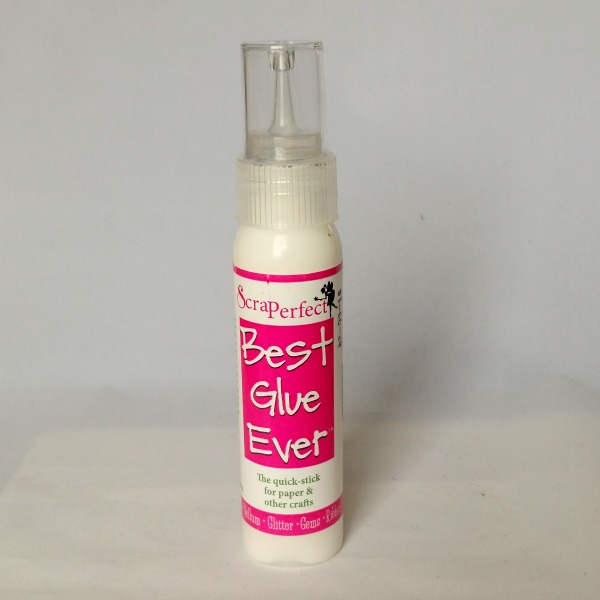
To hold these layers of flowers together I used the Best Glue Ever. This super strong yet fantastically flexible glue from ScraPerfect is wonderful for hand made flowers.

I punched flowers from Bunny cardstock to coordinate with the Saffron Cards. The smaller flowers are from the Daisy Stripe Teal cardstock. I used Blue Dew Drops for the centers of the yellow flowers also.

Embellie Gellie made it super easy to place dew drops at the flower centers and with the cork chevrons.

For a little variety I added a pre-made flower as the center of each flower cluster. The final touches of wood leaves and chipboard vines are held of with just a drop or two of BGE.


For a little variety I added a pre-made flower as the center of each flower cluster. The final touches of wood leaves and chipboard vines are held of with just a drop or two of BGE.

The Saffron Ephemera Cards were perfect for accents as well as a title. They had just the right hues and delicately flourished letters.

The blues and yellows of the flowers add to the elegant look of this one page layout. Their mild tones create the perfect foil for this poignant black and white photo.

Supplies:
Paper, Dew Drops, Ephemera Cards:The Robin's Nest
Pre-made Flowers:Prima
Cork:American Crafts
Vines:Gina's Designs
Wood Leaves:Peachy Cheap
Washi Tape:Love My Tapes, MME,
Glue, Embellie Gellie:ScraPerfect
Scrap On!
~charity~


