Friday, September 27, 2019

Tea Time To Reflect on Memories

I'll be in school full time and working for the next few months so I've chosen some previous projects to repost. This was my winning entry for an August 2012 MME contest.
~ Tea Time To Reflect ~
This tea themed project was perfect for using up my odds and ends and showcasing my favorite bits of papers. Gems, glitter, and twine made star appearances.
I up-cycled an empty paperboard tea box instead of throwing it away. I covered it with blue patterned paper as that is Mom's fav color.
When covering such a box the edges of the paper tend to lift. I added washi tape as colorful extra protection.
I used those bits of photos with people too small to really see well. I trimmed cardstock and adhered the photos to make "tea bags" for brewing reflections.
The photos in this Tea Box span the first half of 2012.
Mama sure enjoyed her unique gift and still displays it.
Supplies:
Ink and Stickles: Ranger
Punches: EK Success, Punch Bunch, and McGill
White Buttons: Basic Grey
Star bling and brads, Crown brad: stash
Stamp: Pink Paislee
Embossing Powder: Stampendous
All Other Supplies: MME

Scrap On!

~charity~

Wednesday, September 18, 2019

Layers of Wings and Frames Layout

Lots of layers of wings and frames on this 12x12 layout featuring a photo I love to scrapbook like a song on repeat. My daughter arranged the outfit, the pose, and the lighting all herself. This photo looks good so many different ways I just have to try them all.

I chose a very dramatic color scheme for this remake with an emphasis on wings. I wanted lots of layers, flowers, and textures. Canvas Corp Brands seem to have it all, gorgeous cardstock, lace, and hordes of unique Architextures. I also wanted the photo inside a deep layer of frames. Each frame would need to be cut and placed exactly. Careful planning and LOTS of foam tape make this type of project possible!
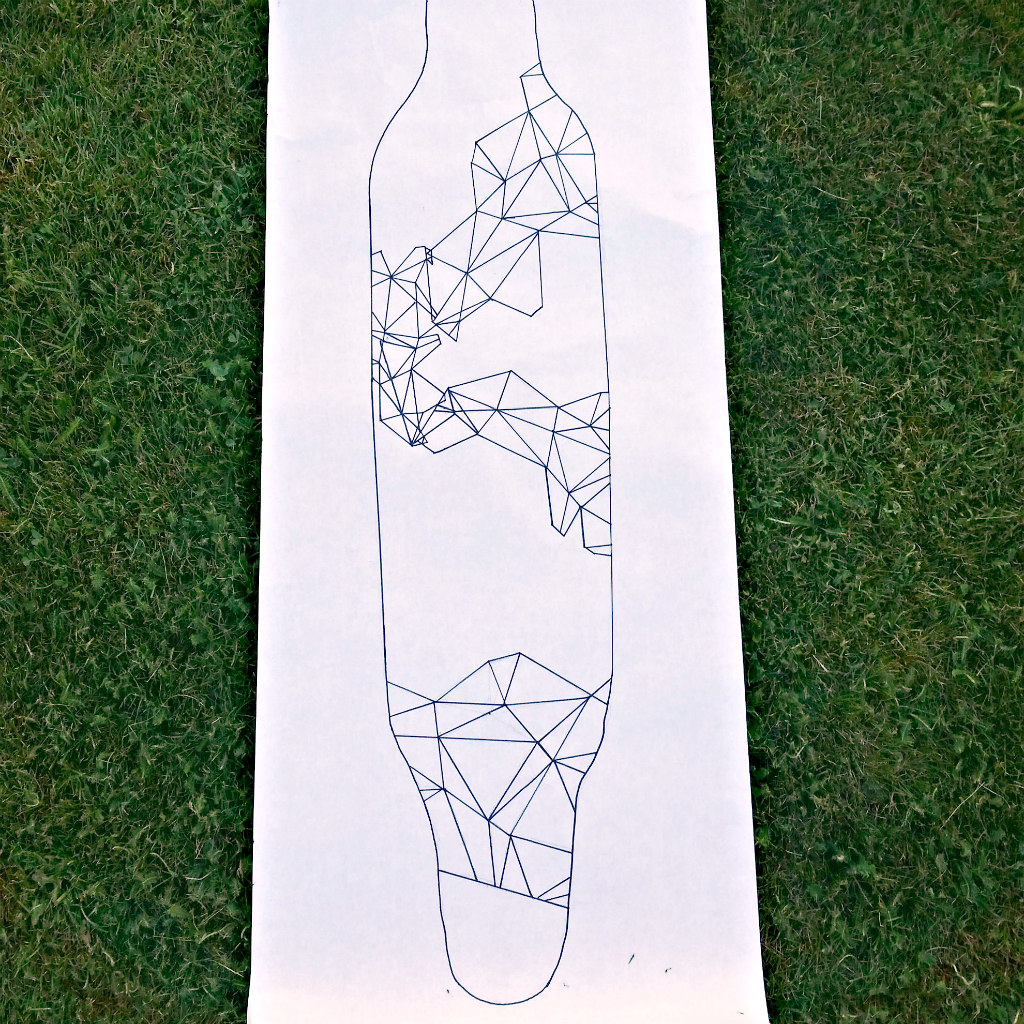
Cutting and Placement Tip: 
Before I cut my frames I drew a schematic on the back of the Chicken Wire paper. I cut each frame and stacked them up so that each frame was positioned exactly on the schematic. I pierced diagonal corners of the frames. While putting my layout together I had only to line up the pierced holes to know where my frame should be. The piercings that showed were easily covered with embellishments.
Cutting and Prep Guide
Black and Ivory Chicken Wire Paper Frames: Trimmed to 11x11" with 4x6" center cut out.
Black and Ivory Sonnet Rev Paper Frames: Trimmed to 6x8" with 4x6" center cut out.
2 Ebony Foiled Paper Frames: Trimmed to 5x7 with 3.5x5 cut out
Architextures Tall Base Swirls: Paint with High Impact Paint - Purple.
Mixed Media Origins Wings: Fussy cut from background.
Spring Flowers Paper: Fussy cut rose and leaves.
 Architextures Wings: Place on lavender foiled paper, trim to size.
Lavender and Silver Foiled Paper: Punch 6-10 flowers from each color.
 Ticking Flower
Step 1: Cut a 1x6" strip of Ticking Fringe.
Step 2:Secure thread in end of ticking with a knot and a couple tiny stitches.
Step 3:Pleat ticking by 1/4” folds. Run thread through all the layers, 1/8” from the edge of the ticking. Step 4: Fan out flower so that it creates 3/4" of a circle. Secure thread with knot and couple tiny stitches. 
Layout Assembly:
Step 1: Center photograph on black cardstock. 
Step 2. Fold accordion corners in chicken wire paper. Evenly apply foam tape, glue dots, or layers of craft foam. You do not want any of your frame to sag so be generous. Center Chicken Wire paper onto black cardstock. Do not adhere accordion corners till later.
 Step 3. Slip lace under accordion corners, only glue the edge of the lace that is under the frame. Center Ebony Frame over chicken wire. Adhere with foam tape. 
 Step 4. Add Architextures Swirls so one edge is under the lace. Place Sonnet frame on top of Ebony frame with foam tape.
 Step 7. Slip Architextures wings under lace. Adhere inMixed Media Origins wings to Script frame with foam tape. Adhere second ebony frame to script frame with two layers of foam tape. Arrange ticking flower under upper right corner of ebony frame.
 Step 8. Add wood shapes and foiled paper flowers to upper corner, slipping petals under an accordion corner or between wood shapes. 
Step 9. Adhere chipboard to Script frame. Place fussy cut rose and leaves on ebony frame corner. Scatter foiled paper flowers between layers. Add title or journaling and display with pride!
This project was orignialy posted on the Canvas Corp Blog in August of 2018.
Scrap On!
~Charity Hotrum~

Saturday, September 7, 2019

How To Paint a Galaxy on a Longboard

Today's tutorial features my daughter and her instructions for how to paint a galaxy on a longboard using Tattered Angels High Impact Paint. Both the variety of colors and the quick drying nature of this acrylic paint were reasons my daughter chose High Impact Paint for this project. The fact that I own all of the paint colors and encourage my children to use them may also have effected her decision!
 When AJ's friend purchased her new longboard she knew she wanted something unique and memorable painted on the underside. She also knew who to bring her new board to for that design. She and AJ decided on a galaxy painted in a pattern that echoed the shapes on the front.
Galaxy painting is a bit of a fad and many color schemes and styles exist. For this project AJ chose 8 paint colors. For tools she used cotton pads, a narrow paint brush, and a toothpick. She used a roll of paper to trace out her pattern and washi tape to mark out the edges on the board.
 AJ traced the edge of the longboard onto paper then drew out the pattern of shapes from the front.

After sanding the back of the board she cut out the two sections and taped them in place. She used Washi tape so as not to leave a residue. Tetsu observed the process closely, watching for errors and sprinkling car hair about generously.
 The paper was a guide for tape placement so it was removed once the tape was secure.
 We've had lovely weather so the longboard project was moved in and outside as the week progressed. Here Tetsu demonstrates the proper way to hold a board down while is beloved girl paints.
The paint is dabbed on the board using a cotton pad with drying time between layers of color. The blues were painted on first. Aqua and Turquoise take up the center with spare amounts of Blue. Light Pink and Hot Pink edge the blues and save place for generous amounts of Purple.
 Each layer of the paint dampens the one beneath it. this extends drying times as the project progresses. A final layer of Turquoise gives the galaxy just the look she was aiming for.
 After about an hour of drying time AJ removed the tape. She left the board overnight to dry completely. A few stray drips and smears were easily cleaned up with a damp cotton pad.
 The pattern of shapes from the front is painted over the galaxy in White with a narrow paintbrush.
 Stars are added to the galaxy using a toothpick and both Wheat and White paint.
The board will need several layers of varnish to protect the design. The owner of the longboard will complete that part of the project. But here are a few snaps of the board and artist before we return it to the owner.
 The Big Eyed Kitty inspected the board and concluded that it was completed satisfactorily.
This project was originally posted on the Canvas Corp Blog in August of 2018.

Craft On!

~charity~