Send In The Clowns!
The juggler, the trapeze artist, the tight rope walker...between my three kids my house is a three ring circus until bedtime. What better way to commemorate their death-defying acts then this circus tent mini-album? Don't be scared away by its intricate appearance. Just grab a chair and enter the lions cage, you know you are DYING to see if you've got what it takes!!!
The juggler, the trapeze artist, the tight rope walker...between my three kids my house is a three ring circus until bedtime. What better way to commemorate their death-defying acts then this circus tent mini-album? Don't be scared away by its intricate appearance. Just grab a chair and enter the lions cage, you know you are DYING to see if you've got what it takes!!!

Supplies:
Thick Cardboard
Patterned Cardstock
Compass or large Circle Cutter
Paper Trimmer/Scorer
Scissors
Stapler, Sewing Machine, or other instant lock Adhesive
Tent Base
Cut 1 Circle 9.5" Diameter of Small Flowered pattern paper
Cut 1 Circle 8.75" Diameter of Black Cardstock
Cut 3 Circles 7.5" Diameter. 1 of thick cardboard, 1 of patterned paper
Cut 2 Strips 1"x 11" of Black Cardstock
Directions:
Step 1: Trace 7.5" circle onto thick cardboard, cut out, adhere to center of 8.75" circle. Top with 7.5" circle of patterned paper.

Step 2: Score strips of patterned paper lengthwise. Cut slits in paper strips from edge to center at 1" intervals down one side.
Step 3: Adhere strips to edge of large circle so that a narrow gap remains between the upright edge of the strip of paper and the cardboard circle. Overlap the strips by one inch so that a 2 inch gap is left at the opposite end of the circle.

Step 4: Trace a 7.75 " circle onto the center of the 9.5" circle. Cut out center so that only the edge remains. Place 9.5" circle over Tent Base to cover the paper strips and edge of the base. Adhere.

Tent
Cut 1 Circle 7.5" Diameter
Cut 8 Triangles {2.75x4.5x4.5} from Narrow Striped pattern paper
Cut 8 Trapezoids {3.25x4.5x2.25x4.5}Coordinating pattern paper
Cut 4 Rectangles {5x5.5} Wide Striped pattern paper
Directions:
Step 1: Score all Triangles at 1/8 inch on both 4.5" sides. Adhere scored 1/8 sides together with seams
on the outside.

Step 2: Score all Trapezoids at 1/8 inch on both 4.5" sides, and at 1/2inch on 2.25" side. Adhere scored 1/8 sides together to form second tent tier, leaving top 1/2 inch loose. Fold these 1/2 inch sections down and to the outside of tent.

Step 3: Trace 7 inch circle at the center of 7.5 inch circle. Cut circle from edge to traced line at 1/2 inch intervals. Fold flaps toward the center of the circle.

Step 4: Adhere flaps to inside of large end of second tent tier. This step will create a "ceiling" for the third tent tier to rest against.

Step 5: Adhere tent peak to second tier by placing adhesive on inside of folded 1/2 inch sections from step 2 and matching them up with undersides of the tent peak triangles.

Step 6: Evenly space 5 eyelets on both 4.5" sides of 2 rectangles, and on one 4.5" side of the other 2 rectangles. Use twine to lace 4 rectangles together to form third tent tier.
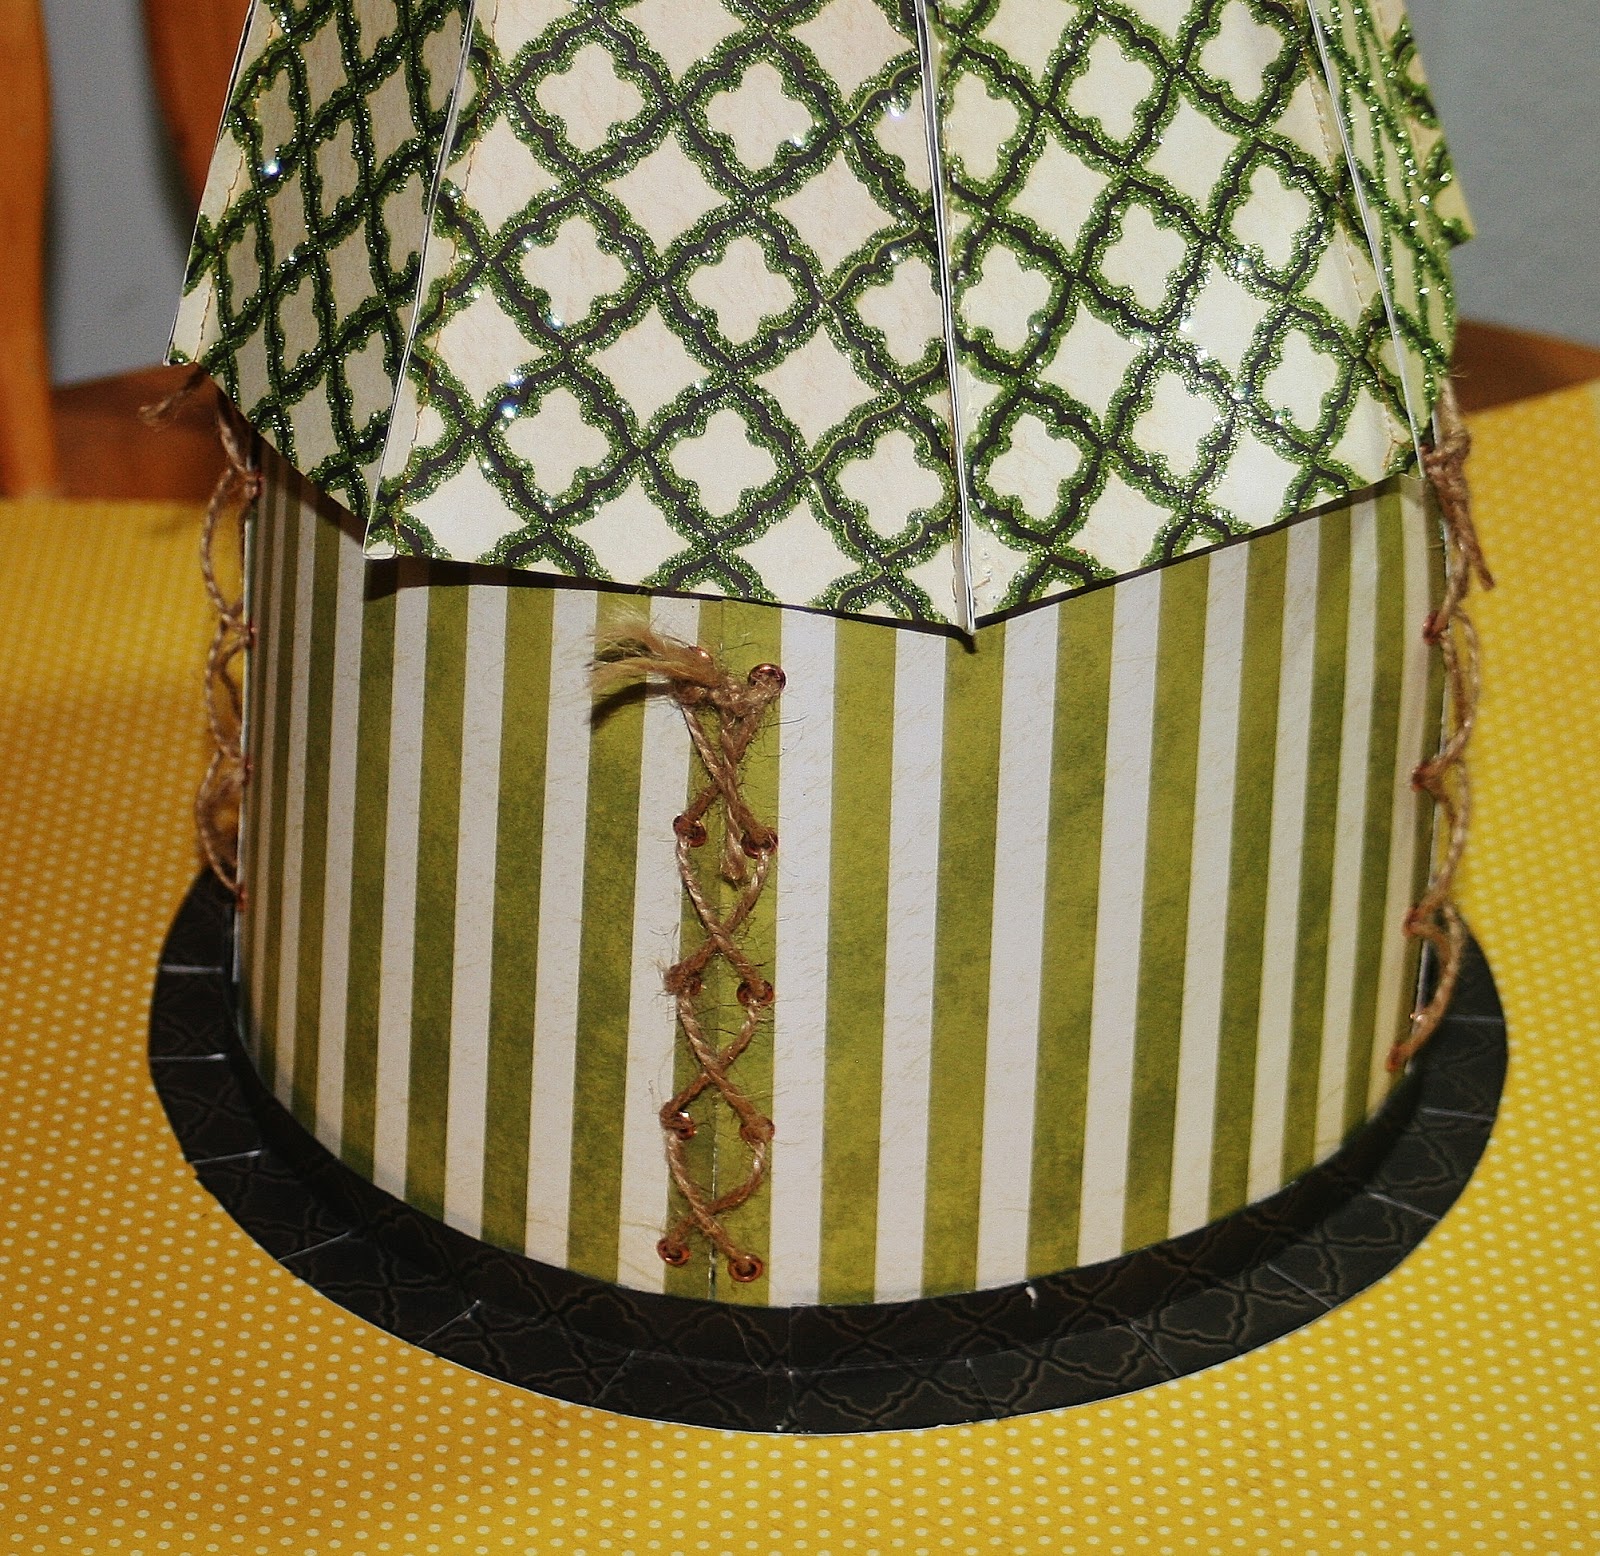
Step 7: Place third tent tier in the narrow gap between the tent base and the black side strips. Top with first and second tent tiers (do NOT adhere). Decorate at will.

Step 8: Cut multiple 7.5 inch circles for Mini album, using ribbon to connect instead of rings. Store album in lowest tent tier.
....and that's all folks!!!
Scrap On!
~charity hotrum~
Scrap On!
~charity hotrum~


