Here is how to make an elegant peacock from colorful flower petals. During the month of August Rinea is collaborating with Petaloo by Floracraft. When I opened my parcel to the Cool Tones Floradoodles all I could see was the green, blue, and purple of peacock feathers.
~ Flower Petal Peacock ~
Copper is my favorite metallic tone and the perfect compliment to my stash of flowers. How delightful that Glossy Copper Foiled Paper is available by the role from Rinea! Follow the steps below to make your own Flower Petal Peacock.
Supplies:
Glossy Copper Foiled Paper, cut to fit 7x11 Frame.
Foiled Paper in Contrasting color for Head and Neck
Decorative Corner Punch for edge of Peacock Body
ScraPerfect glue for attaching petals to Foiled Paper.
Assortment of Floradoodles in cool tones, cut into individual petals.
Foiled Paper in Contrasting color for Head and Neck
Decorative Corner Punch for edge of Peacock Body
ScraPerfect glue for attaching petals to Foiled Paper.
Assortment of Floradoodles in cool tones, cut into individual petals.
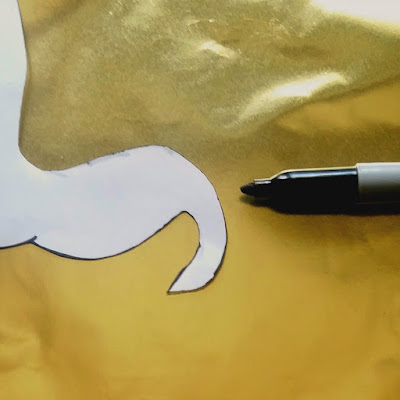
Draw or Print peacock silhouette. Trace onto foiled paper.
Place one drop of the Best Glue Ever onto each petal. Allow to dry to semi-clear finish.
Place one drop of the Best Glue Ever onto each petal. Allow to dry to semi-clear finish.
Add petals to the peacock silhouette starting at the tip of the tail and working upward.
Trace the head and body of the Peacock Silhouette onto a contrasting color of Rinea foiled paper from the Jewels Variety Pack.
Carefully cut out the shape. The curve of paper from the peacocks neck makes an excellent wing shape. Use corner punch for the lower edge of the body.
Glue the body over the tail feathers, adjusting and filling in petals as necessary. Place short petals on head for top knot. Place Flower Petal Peacock in frame. Add layers of cardboard till foiled paper fits snugly without a wrinkle. Use Perfect Cleaning Cloth to remove finger prints from foiled paper.
Supplies:
Foiled Paper:Rinea
Flowers:Petaloo
Frame:Green Briar Int.
Corner Punch:Kreaxions
Adhesive and Cleaning Cloth:ScraPerfect
Scrap On!
Foiled Paper:Rinea
Flowers:Petaloo
Frame:Green Briar Int.
Corner Punch:Kreaxions
Adhesive and Cleaning Cloth:ScraPerfect
Scrap On!
~charity~


