Showing posts with label heat embossing. Show all posts

Monday, April 29, 2019

How To Make Texture The Center Of Attention

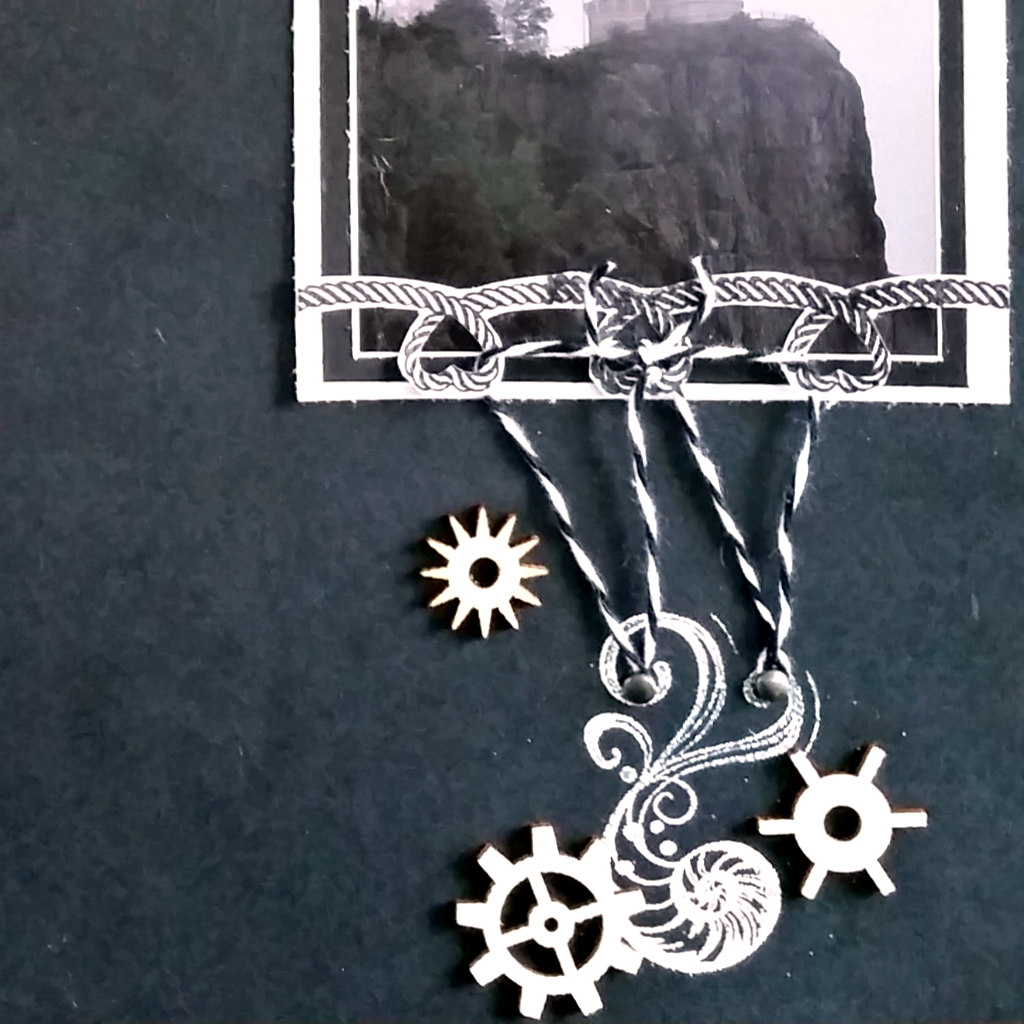
Here's a sweet layout showing how I make texture the center of attention. Texture is the quirky denizen in a crafter's bag of tricks. Embossing, paste, fabric, paper layers, sequins, even foam tape adds texture. For a stunning overall effect add texture in layers, using lots of different methods.
~ Mayday Moments ~
This layout is staged on two embossed papers, the first with dry embossing the second with glitter embossing. The grey paper is from a DCWV stack, Sophisticated Neutrals. That exotic pink with yellow paisleys is from the Storyteller collection by Linda Wood.
 A hexagon embossing folder shapes a strip of wood veneer. I've been having a lovely run through my stash and realized I hadn't yet used this veneer from an old MME set, Necessities. It makes a great photo mat for this layout. 
 Helmar adhesive was my bestie throughout this process. From holding down a sheet of veneer to pinpointing sequins, all I needed was in that yellow bottle. The sequins shown here are from Spiegel Mom Scraps. They come in nifty baggies and I sort them into acrylic organizers.
 The title alpha is an old Thicker set from American Crafts. Those things never did stick well. Here I solve the problem with a bit of gold braid stitched in a triangle. To continue the theme I stapled the tiny type down.
 Here's a shot of all that lumpy, bumpy goodness thanks to foam tape. The burlap hexagons are cut with the same dies I used on the paper. I gave each fabric shape a "glint" with a couple stitches of gold braid.
 Finally, here's a shot that shows off the glitter yellow embossing on the paper. I just LOVE this collection from Linda Wood!
My scrappy sister, Sharon Fritchman posted
  Challenge YOUrself #64
and I decided to join in. You can find the details for this challenge at the highlighted link above. This month's theme is My Favorite Holiday. I love coaxing flowers out of my tiny, urban flower beds so of course I had to choose Mayday.

Scrap On!

~charity hotrum~

Thursday, October 11, 2018

How To Make A Lovely Watercolored Mermaid

This watercolored mermaid card is as lovely as it is easy to make. The watercolors were painted in pastels and dried to an attractive chalky finish. Fussy cut waves flow around this water beauty and fade away into the background. The quote reminds us to 
~ Always Be A Mermaid ~
 The first step in making this card was stamping and embossing the mermaid. I chose watercolor paper and clear embossing powder. The heat embossing defines borders that hold the watercolors in.
 Water pens are a most universal tool and provide the just-right amount of water color for the pan of color. When painting the tail I went over all of it in the light blue. When that had dried I went back over it and added bright colors to a few scales. The hair was done very carefully, with drying time between each additional color.
 I stamped the center of the card base with waves in a light grey ink. I dotted the mermaid with Best Glue Ever and placed her at the center. I left the tip of her tail free to curl over the wave.
 The waves are stamped and then heat embossed with white embossing powder on grey cardstock.
 I fussy cut the waves and added a stripe of Best Glue Ever to adhere craft foam.
 Quick drying time and then a layer of Best Glue Ever on the craft foam prepared the waves for placement on the card.
 The sentiment is stamped in purple ink and heat embossed with clear powder.
"Always Be Yourself,
Unless you can be a mermaid, them
Always be a Mermaid"
 One final layer of Best Glue Ever adheres the base to the 4x6" card blank.
 The ScraPerfect blog has many crafting solutions for the discerning crafter. The online store can be reached at www.ScraPerfect.com .
Stop by my blog Scrappin' Chaos for a list of supplies.

Scrap On!

~charity~

Friday, June 15, 2018

How To Create Drama With Only Two Colors

Today's project is a clean and simple layout that creates drama with only two colors. I started with a 12x12 of black cardstock and added depth and interest with stamps and heat embossing. Only the Peachy Cheap wood shapes of clouds and gears relieve the monochrome color scheme.
~ Split Rock Lighthouse ~
This month the color prompt from White With 1 is:
 This vacation photo of a mist shrouded lighthouse is perfect for the color scheme. Adding nautical themed stamps sets it off strikingly. The mermaid above and the nautilus below hold the photo aloft.
 The looped rope stamp is heat embossed with black ink onto white cardstock. I fussy cut the rope and used a die inside the loops. The looped rope boarder is glued over the matted photo. Twine strung through the loops is tied over a silver brad. 
 Wood gear shapes are scattered around the nautilus shell. Two small brads hold the twine below the photo.
 The ocean waves were stamped, heat embossed, then fussy cut. I popped them up with craft foam and layered them below the ship. A length of twine runs from the ship to the anchor below the waves. Wood cloud shapes from Peachy Cheap complete the scene.
Stop by the White...With 1 blog to see the design teams beautiful samples.

Scrap On!

~Charity Hotrum~

Monday, April 23, 2018

Fairy Cards, Toadstools, and Weekend Crafting Time

A pair of Fairy cards with Rinea Foiled Paper and plenty of toadstools occupied my weekend crafting time. I’ve been salivating over Graphic 45’s Fairie Dust collection while I waited for my paper pack to arrive. It came in last week and I spent spare moments fussy cutting to prep for a creative Saturday.

First up is a Fairie Queen, chatting with butterflies in her garden. This fussy-cut beauty has a crown and armband enhanced with copper Stickles. The butterflies are heat embossed and embellished with Stickles.

The inner frame is cut from Rinea Jade/Gold Glossy Foiled Paper. I overlaid it with toadstools attached with foam tape for depth. The paper details are inked on the edges.
Rinea Jade/GoldGlossy Foiled Paper embossed with a butterfly folder from Darice sets the stage for the second card. The foiled paper is matted with a rectangle of Violet Vale. These papers are centered on a 4x6, cream card blank.
A trio of toadstools grace the bottom border while foam tape helps the center medallion pop. A pair of fairies are tucked behind and dots of copper Stickles pick out the details. The layered butterfly stickers are a gift from my Australian pen pal.
For the first card I used a Sketchy Saturday prompt. There is plenty of time to play along at Laurel Seabrook Designs. Here is a peek at that sketch.
Supplies:
Cardstock:Recollections
Patterned Paper:Graphic 45
Foiled Paper:Rinea
Stamps & Ink:Close To My Heart
Glitter Glue:Ranger
Embossing Folder:Darice
Embossing Powder:Martha Stewart
Layered Butterflies:TRS Trading Group


Scrap On!


~Charity Hotrum~


Tuesday, October 17, 2017

How To Make Something Beautiful With Simple Diecuts

This beautiful card with simple diecuts is so easy to learn how to make. This month Rinea is teaming up with Pink and Main! Stop by the online shop to see the lovely stamps and dies. I snatched up the Hot Air Balloons immediately.
~ Adventure ~
This stamp set comes with matching dies so the card practically made itself. 
 I chose Rinea's Glossy Blush foiled paper. I cut balloons in all 3 sizes, then I used Rinea Ghost Ink to add graphics to my balloons.
 The top of the large balloon has a ruffled cloud shape. I used it as a stencil to add clouds with pigment ink.
 I heat set the pigment ink till it was mostly dry. Then I dusted on embossing powder and gave the clouds a golden glow.
I assembled the card and added the sentiment from the stamp set. Quick, classy, and versatile. Stop by the Rinea shop to see more colors of Foiled paper and make your own flashy cards.

Supplies:
Cardstock:Craftsmith
Pigment Ink:Clearsnap
Embossing Powder:WoW
Stamps and Dies:Pink and Main
Foiled Paper and Ghost Ink:Rinea 

Scrap On!

~charity~

Wednesday, April 12, 2017

How To Make Stunning ATC's with Supplies on Hand

Here is how to make stunning ATC's with supplies on hand using ScraPerfect product to fill in the blanks. Crafting is one of my best stress relievers, but I don't always have time for a full blown project. ATC's (Artist Trading Cards) are only 2.5" by 3.5"  and anything goes. NO rules, NO need for extensive planning, just playing with the latest techniques and your favorite products.
~ Dragonfly ATC's ~
For the first set of ATC's I misted cotton and used it to layer colors on white card stock.
I stamped dragonflies on the cards then added a layer of gold rub-on. I re-stamped the dragonflies on the blue card since they weren't showing through so well.
The next step was was heat embossed stars and Transfer Foil for the dragonflies. The lower orange dragonfly had to be refoiled. The dragonflies for the blue card were outlined in foil. You can see the Best Glue Ever drying below.
The finished product features the words Happy and So Happy on the gold card and Dream on the blue card. When I first stamped the word Happy it smeared. I quickly added a spritz of the Best Cleaner Ever to a cotton round and wiped away the pigment ink. I re-stamped the word Happy and heat embossed it. I added Robin's Nest Dew Drops to the gold card and flourishes to the blue card using modeling paste and a stencil.
~ Happy & Dream ~
The second set of cards started with cotton dabbed with ink and rubbed on white cardstock.
I wanted just the butterfly body of a rubber stamp. I stamped the design on paper then cut out just the part I wanted. This created a mask that I could stamp through. For the wings I used a different stamp, twice. I added Stickles and Liquid Pearls to accent the wings.
I accented opposite corners of the cards with rub-ons and added rub-on words as well as layered washi tape. A couple stripes of hand stitching and dotted white ink finish off the second set of cards.
~ Pure & Genuine ~
The third set of cards are a lot brighter. I used 3 colors of highlighter and cotton to blend the inks.
I used a flourish stamp and a dragonfly stamp for images and gems to decorate. A white pencil toned down the vibrant colors a notch. 
To add a frame I dipped my finger in white acrylic paint and edged the cards.
These last two cards depend less on technique and more on color to grab the viewers attention. They are simple yet still follow the dragonfly theme.
~ Hope & Adventure ~
Although these ATC's use widely different techniques they blend easily as a set. The dragonfly theme brings them together while the colors set them apart. 
ScraPerfect Glue, Cleaner, and Foil made this project go smoothly.

Supplies:
Paper:Recollections
Stamps:Kaiser Craft, Hot Off The Press, CTMH,
 Inkadinkado, Stampabilities, My Minds Eye
Stitching:Sew Easy by WeRMrk
Dye Ink:Close To My Heart
Pigment Ink, Mist:Clearsnap
Embossing Powder:American Crafts
Modeling Paste:Liquitex
Stencils:Momenta, The Crafter's Workshop
Washi Tape:Love My Tapes
Acrylic Paint:Pentart
Narrow Washi Tape, Gems:Michaels
Stickers:Glitz Design
Rub-Ons:7 Gypsies, Glitz Design
Highlighters:Sharpie
White Pencil:Crazy Art
Stickles, Liquid Pears:Ranger
Dew Drops:Robin's Nest
Glue, Cleaner, Transfer Foil:ScraPerfect

Scrap-On!

~charity~